Learning how to sign your consent and release forms on your tablet or iPad will be a game changer for your business! Once your account has the digital forms product go to live.punchey.com and log in with your business’s information. Once logged in, navigate to your Contacts screen.
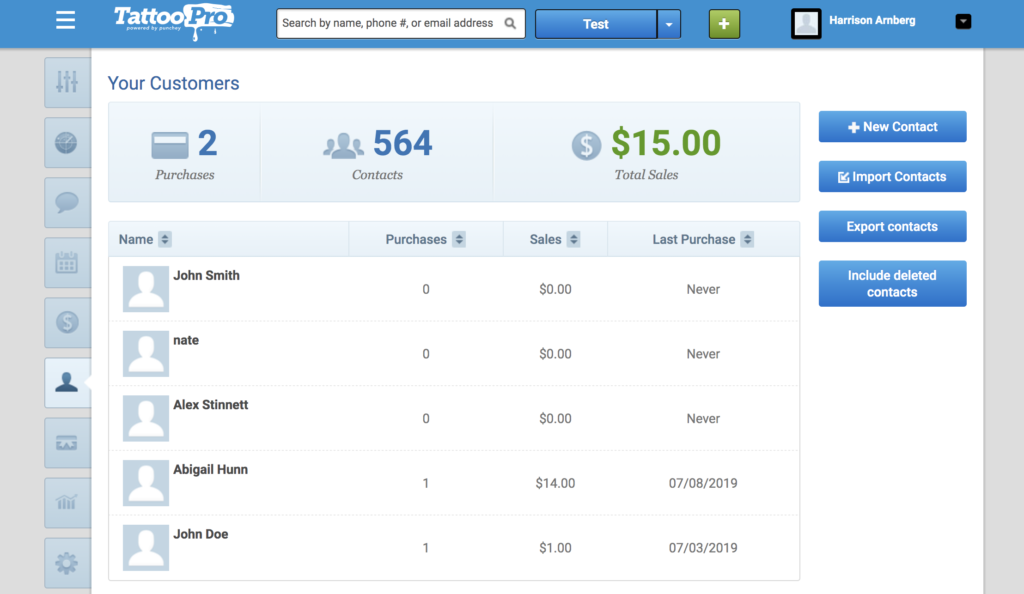
Once here, either click on your contact if its a returning customer or go to the top right and click “+ New Contact.” Put in your new customer’s information and then hit “Save Contact” on the bottom right. You’ll then be brought to this screen.

If you have our digital forms service added to your account, on the bottom right (where the red box is), you will see your forms show up.
Now there are two options for signing on your touch screen device:
- Dual Screen:
If you’re on your main POS register, the forms will push to the connected SignPad tablet you use to connect receipt signatures and tips. Alternatively, - Single Screen:
If you’re logged into your software on a dedicated touch screen device, say a floating iPad or tablet just for digital form capture, the form will show on this device. Hand it to the customer for completion.
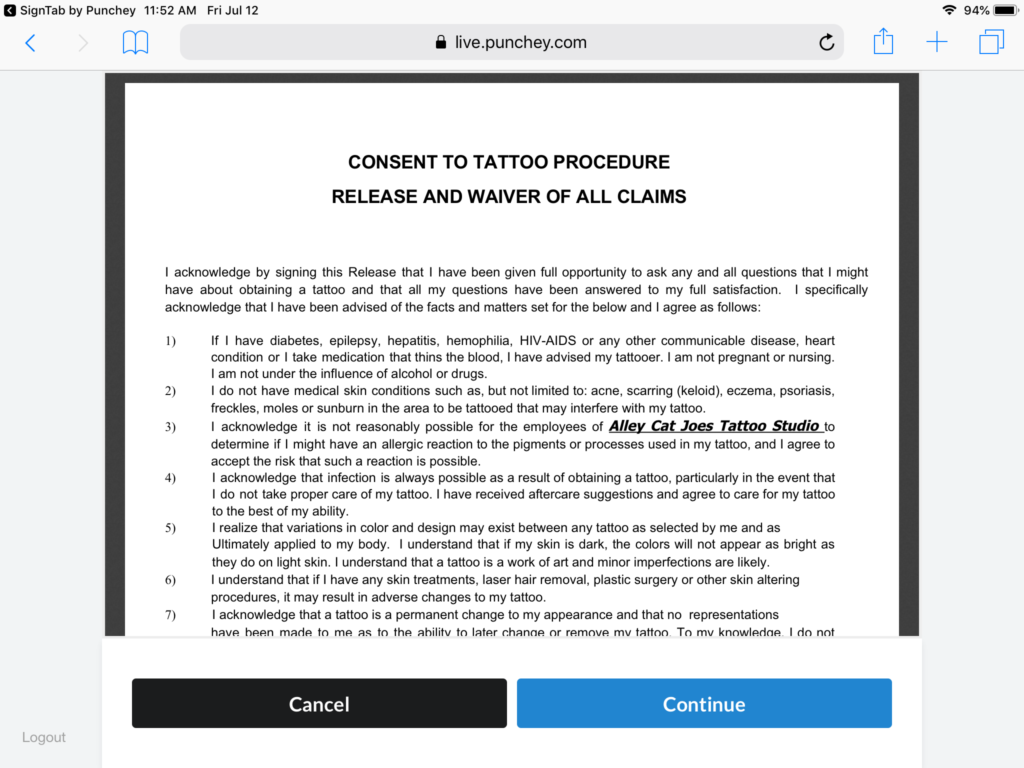
Whichever form you selected should then pop up. For this test, I chose the release form.
After this, the signed form will appear on your register.
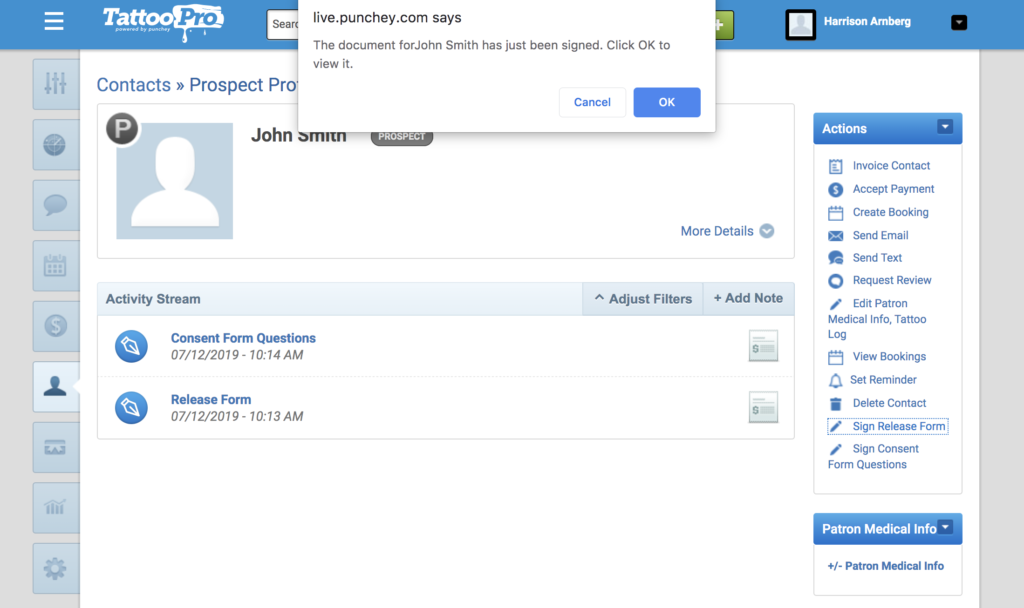
Simply click “OK” and the register will process the signed document and it will appear in your contact’s activity stream.
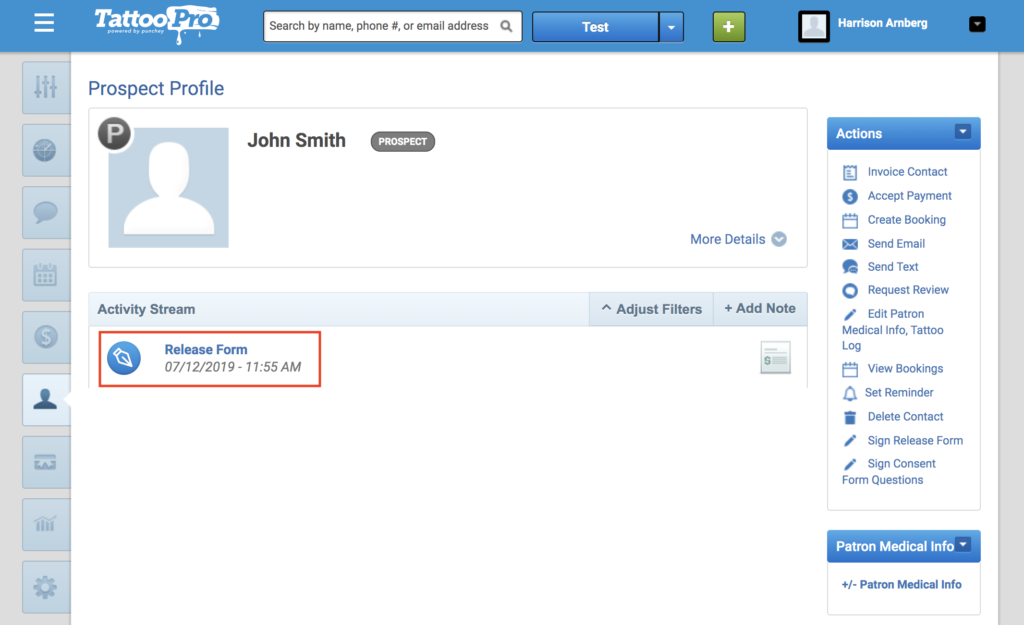
And just like that, the digital form is completed and signed!
Our POS software saves you time, money, and effort, enabling you to run your business at maximum efficiency! This will enable tattoo artists to focus on making beautiful body art rather than being bogged down with receipt printers, wasted time, and inefficient systems.
Want to learn more? Check out our YouTube Channel or other helpful how-to guides!